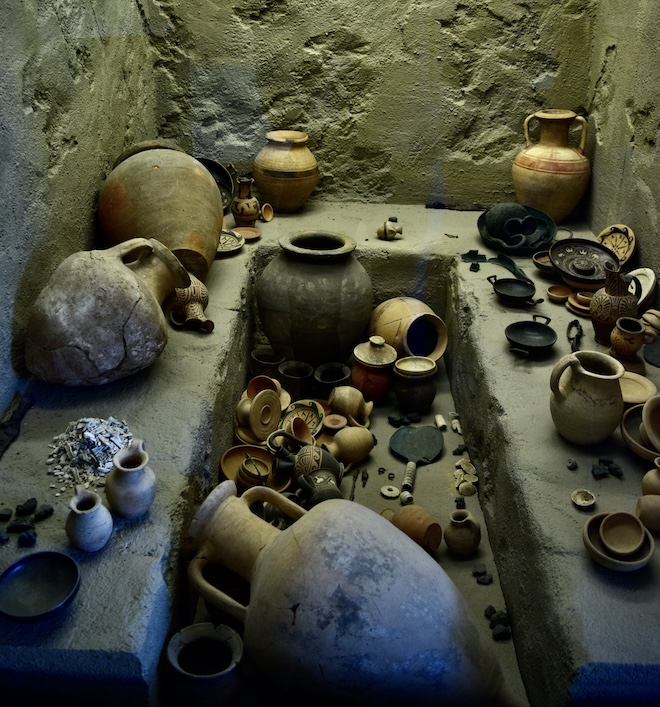
Archaeology teaching videos should show how material evidence supports an interpretation, with the relevant photograph, plan or section visible when the narration discusses it. Turning lecture notes into a useful lesson therefore starts with preserving archaeological context and the limits of what the evidence can establish.
For lecturers, museum educators and field school instructors, the difficult edit often concerns a small word. A note that says a vessel “may have held grain” can become a confident statement about food storage. The shorter script sounds clear, but the argument has changed. A good video makes that change easy to catch before students see it.
What should archaeology teaching videos help students do?
They should help students connect an observation to a defensible explanation and identify what information is still missing. Choose one task before choosing a video style: order deposits, explain an object’s context, or compare competing interpretations.
The University of Florida’s archaeology teaching videos provide a useful model of specific scope. Their subjects include ceramic composition, pottery use and artifact processing. The processing lesson follows material from excavation to permanent storage while keeping contextual information attached. The teaching subject is a method that students can follow, rather than a catalogue of impressive finds.
Write the learning task as a question on the first page of the source notes. “What can this section tell us about the sequence of activity?” gives the editor a decision rule. Keep the evidence needed to answer it. Move unrelated background into a handout. This workflow concerns explanation and review; practical excavation skills still require supervised instruction.
How do you preserve archaeological context in a script?
Keep the find’s recorded relationships attached to every claim about it. Context includes where material was found and how it relates to surrounding deposits or features; an isolated object image cannot communicate those relationships by itself.
Prepare a scene table alongside the lecture notes. Use an explicitly hypothetical classroom example when the lesson needs a simplified sequence, and label it accordingly.
|
Scene |
Evidence on screen |
Narration must retain |
Question for students |
|
Find |
Drawing of a ceramic sherd (pottery fragment) |
Its recorded deposit |
What do we actually observe? |
|
Relationship |
Section with labelled layers |
Which deposit lies above another |
Which event happened earlier? |
|
Disturbance |
Diagram of a later cut |
The cut interrupts earlier deposits |
Does depth alone settle the sequence? |
|
Interpretation |
Evidence and proposal side by side |
Uncertainty in the proposed use |
What extra evidence would help? |
Do not assign an invented culture or date to the example. If the notes come from a published excavation, carry the report reference into the scene notes and preserve its terminology. Where several specialists disagree, name the competing explanations and show which evidence each uses.
Where can AI help turn the notes into a lesson?
AI can assemble a first narrated version after the instructor has selected the evidence and written the relationships clearly. The source document should carry the learning question, scene order and exact wording that must survive condensation.
An instructor can use Leadde.ai to turn lecture notes into video. Its lecture video page describes a workflow that accepts notes, PDFs, slides or scripts and produces scenes with narration and subtitles. That makes it a production option for an approved teaching script. It does not establish whether an archaeological interpretation is sound.
Start with a short, self-contained section. Keep references beside the relevant claims, expand abbreviations that the narration needs to pronounce, and mark terms that require checking aloud. Give each figure a plain description of the relationship it shows. “Section with three layers” tells an editor less than “the later pit cuts through two earlier deposits.”
Review the generated scene order before judging the visual finish. If an inference appears before its supporting evidence, reorder the explanation. If a site plan disappears, restore the plan or change the passage so students are not asked to accept a relationship they cannot see. Choose a layout with enough room for labels; a presenter should not cover the section being discussed.
The teaching prompt asks for the labelled section and preserves uncertainty. It is an input example, not a validated archaeological interpretation.
The input screen checked for this guide separates File from Text or Prompt. The example prompt shown here asks for a labelled section, distinguishes observation from interpretation and forbids an invented date. Those instructions make the intended lesson explicit; the screenshot does not show a completed or academically reviewed video.
How should a video explain stratigraphy without oversimplifying it?
Explain the usual sequence, then show a case where disturbance changes how the evidence must be read. Stratigraphy is the study of layers; superposition uses their relative position to reason about sequence.
The National Park Service’s lesson on stratigraphy and superposition introduces older layers below more recent ones, then asks students to consider how a collapsed building would disturb a tidy arrangement. That combination is useful for a video: establish the principle and make students inspect its conditions.
Use the same section throughout this explanation. First show the labelled deposits. Then identify the later disturbance. Finally return to the question and ask students to explain the order using the relationships visible in the diagram. Switching to an unrelated excavation photograph at that point makes the reasoning harder to follow.
Keep relative sequence separate from calendar dates. A diagram can show which event precedes another without establishing a year. If the lecture introduces a dating result, preserve its stated range and the material that was dated. Do not let a simplified caption turn a range into a single certain date.
What should you check before sharing the lecture video?
Review the video with the source notes and figure references open. Read the captions as carefully as the spoken script, because students may rely on either. Check that a subtitle preserves words such as “possibly” even when the narration includes them.
- Check that every interpretation still includes its original qualification.
- Match each artifact, context label and figure reference to the teaching source.
- Listen to site names and specialist terms, then correct unclear pronunciation.
- Confirm that diagrams retain their keys and scale information where relevant.
- Pause at the learning question and check whether the preceding scenes provide enough evidence to answer it.
After that review, show students an unfamiliar section and ask them to justify its sequence. Their explanation will reveal whether they can apply the relationship beyond the example.
Keep the source handout available alongside the video. Students need somewhere to inspect the full figure and follow the references beyond a passing frame. The final lesson should leave them able to explain why an interpretation is plausible and what would be needed to challenge it.
Cover Image, Top: Mohamed_hassan, Pixabay
___________________________
Advertisement
POPULAR ARCHAEOLOGY ON INSTAGRAM

___________________________